Sorry for my absence over the last couple months. The holidays were super busy what with work, making gifts, family parties, and just spending time with my VERY active 14-month-old. I may not have had time to post, but I made sure to take pictures of what I was working on and just to show you how nice I am, I'm even posting links to where you can purchase the different patterns I've used :) You're welcome!

The first thing I have in store for everyone is the cowl I made for my mom, mother-in-law, sisters, and sisters-in-law. In total, I have made 8 cowls, although, 2 have not yet been given because one sister-in-law lives in Arizona and I haven't had a chance to mail it yet and the another sister-in-law was out of town for Christmas and I just haven't given it to her because I keep forgetting :/ I purchased the knitting pattern for this on etsy.com for a reasonable price and it is surprisingly easy to make, even for a novice knitter like myself. If you would like to purchase it, you can do so
here.

Next in line, is this cute little hat I made for our friends' new baby boy. This is called the Jack & Jill hat by
Izzy & Ivy Designs. I posted pictures of the
carseat cover I made for Baby Bear a few months ago and this hat is made from the same material I used for his cover. I also crocheted him a Bear Beanie, but unfortunately I forgot to take pictures of it. There's really nothing special about it. It's just a beanie with little ears on it so you can imagine what it looks like.

Next, is a pair of hats I actually made back in September, but never gathered the ambition to take the photo off of my phone to post it. It's called the Uptown Girl beanie. This pattern I also purchased on etsy.com for a reasonable price and you can purchase it
here.

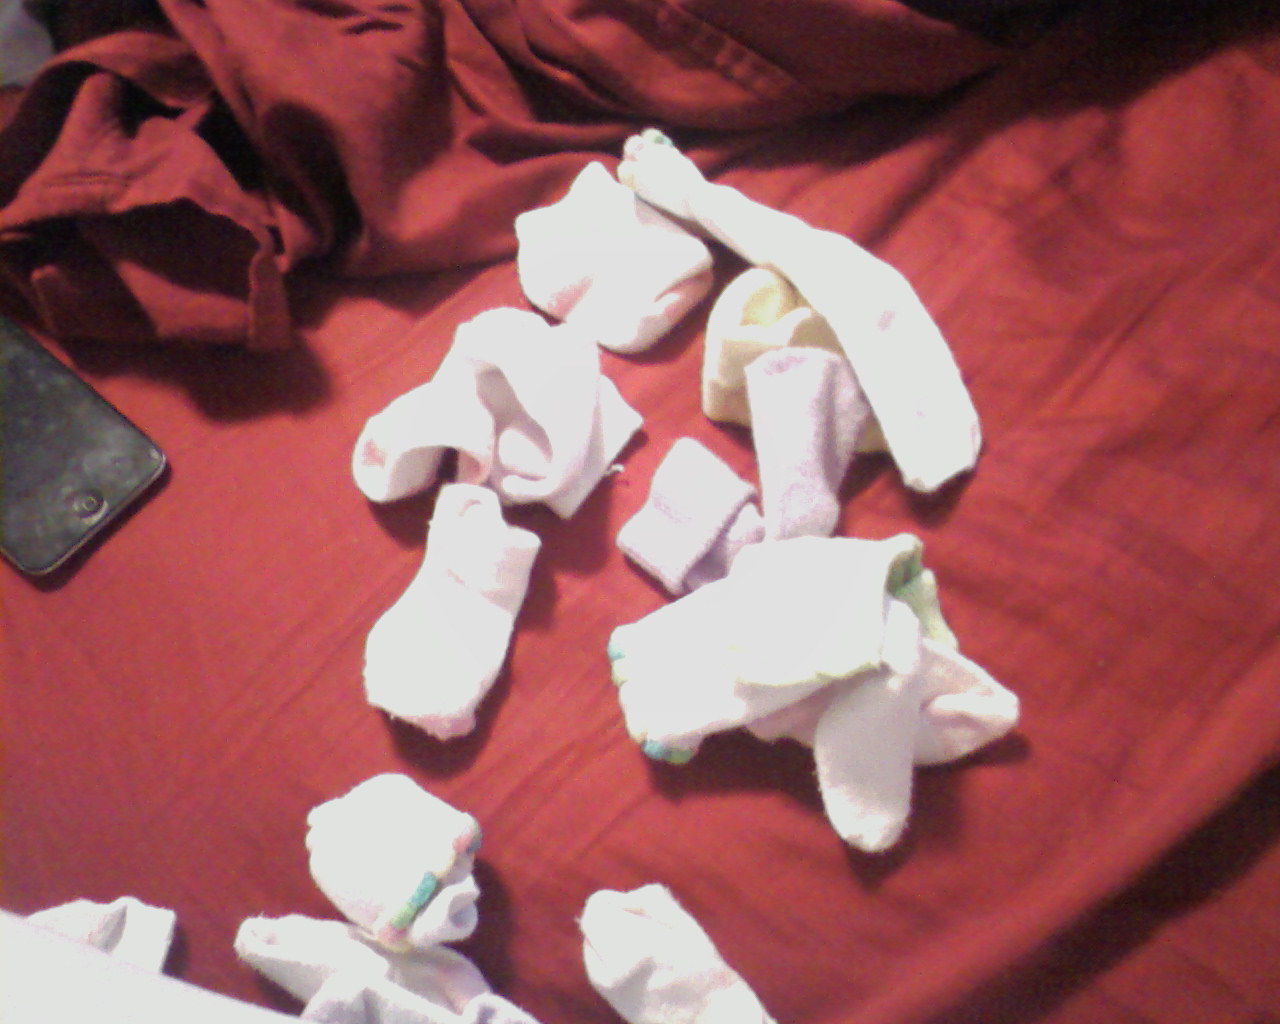
Next, is a small tutorial on making your own grippy socks. If you're like me, you probably have a pile of little toddler socks with no grips on the bottom, thus making your toddler slip and slide all over the kitchen floor every time they come toddling in!
Materials needed:Clean socks (obviously)
Puff Paint (can be purchased at Walmart in the yarn and jewelry section for 97 cents for each color)
 Step 1:
Lay your socks out flat making sure the bottom is facing up and centered.
 Step 2:
Shake your puff paint well and apply in design of your choice on the bottom of your little one's socks. Be generous with the application because I discovered if there's not a good amount on there, it won't have that rubbery consistency and defeats the purpose of 'no-slip' socks :)
 Step 3:
Lay socks flat (and out of the reach of your very curious child) and let dry for at least 4 hours.
Now you have your very own grippy socks! You can even do this with your own socks and with crocheted or sewn booties you've made or been given!

Next, I made a pair of mittens for my Pumpkin since the weather has gotten colder. I found a free pattern for them on
Red Heart's website. They are super cute and super easy to make. They also have no thumbs so it's quite humorous to watch Pumpkin try to pick something up. I'm such a mean mom :)

Last, but not least (for this post, anyway) is the gift I gave my dad, Pop Pop, for Christmas. He had stated be wanted a new cordless drill, but wanted a gift card for it instead so he could pick out the drill he wanted. Me, being the smart-alec that I am, I printed off a picture of a cordless drill onto cardstock and cut out the picture. After I cut out the picture, I secured it to another piece of cardstock making sure to leave the 'battery pack' open and cut that out as well. All that was left to do was slip the gift card into the 'battery pack' and tie a ribbon on the handle of the drill. My dad got a kick of it and thought I was quite clever :)
So there you have it. This is what I've been up to this past holiday season and I must say that I'm quite proud of myself for accomplishing so much. Hopefully next year I'll get an earlier start on things and my holiday won't be so jam-packed. And I promise, now that I have more free time, I will try to post more often...toddler permitting :)